

In this guide we’ll address the step-by-step process of making a short video for a nonprofit, charity or foundation. Based on the sort of video campaign you are creating, these steps may vary slightly. However, the overall experience will be quite similar. We’ve learned best practices after 20 years of formulating our own processes with nonprofits and charities at Two Parrot Productions.
Step #1: Initial Client Interview
The video production procedure usually begins with a request for a proposal (RFP) or quote from the client, either by email or phone. In this first conversation, the video production company will try to find out more about the job including the aim of the video, the target audience, exactly what the customer wishes to convey, and the way they imagine conveying that message.
Step #2: Determine Budget
There are many different ways to shoot a video project, and a variety of different strategies for reaching the final product. It helps to understand a client’s ideal price range. Pricing involves a significant amount of variables, all outlined HERE in a separate article about pricing (LINK TO PRICING PAGE). It’s impossible to perform a one-price-fits-all because each project is significantly different from another in relation to the timeline, location(s), travel, crew members needed, editing style, and revision process. It’s our goal to match the production strategy to the size of a client’s budget.
Step #3: Create Visual Concept
Based on the initial client conversation, we’ll need to adapt the concept for video and develop it in detail. This takes excellent listening skills on part of the producer to understand the vision of the client and how to best shoot the scenes to be compelling to the viewer. We’ll work together to ascertain exactly who will be on video, where we will film them, and what they have to contribute to the overall message.
Step #4: Pre-Production Planning
The first steps in pre-production include developing a timeline, location list, actor list, shot list, and storyboards. Reference this blog post for all the materials any professional video production company should ask you for at the beginning of the process. (ADD LINK TO SEPERATE BLOG POST) We are pointing this out because many companies don’t put in the diligent work up front that ensures the best possible client experience. The more work you do at the beginning, the easier it will become during editing and revision time.

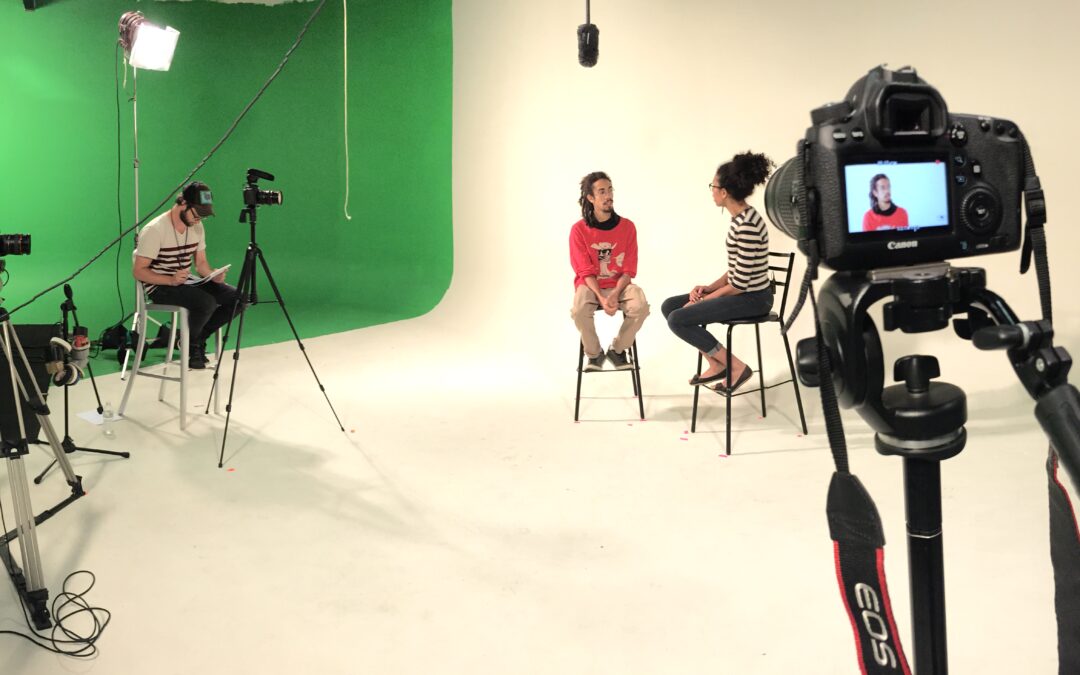
Step #5: Video Production
Due to the groundwork done before shooting, the quantity of time necessary for the shoot is relatively brief. Your shoot may last a few hours or a few days. Once the producer or script supervisor confirms that everything has been shot, that’s a wrap! The junior editor will ensure the camera footage on the SD chips is migrated over to at least two external drives. We back things up! This guarantees the consolidation, organization and protection of the footage.

Step #6: Post-Production
After your shoot day, the video production team will start working on the post-production process of your video. Editing is where the movie magic really comes in. We work our magic to edit out the best parts that convey our key messages intellectually and emotionally. We cut out errors and interruptions, and edit out all the interviewer questions/comments for a clean audio/visual feed for the final drafts.

Step #7: Revision & Approval Process
You should see an initial edit 2-3 weeks after the shoot. From there we will begin the revision process, which ensures the client has full input and control over the final product. You’ll provide comments, questions and concerns to help us reach the finish line. Revision process takes several forms. Sometimes a client is thrilled with the first edit and requests ZERO revisions. Other clients will go through endless revisions to reach the end product. Typically our contract outlines that we will make three sets of revisions. Once the client is pleased with the final edit, several variations and sizes of the video will be uploaded and sent via Google Drive.